10 Ways to Streamline Your Workflow in Ableton Live

It’s often said that in order to become a better producer, it’s best to consistently create and finish projects rather than spend days or weeks obsessing over the minute details of one specific project. It makes sense; the more songs you finish, the better you become. It’s also important to keep in mind that lots of little things add up in the long run. That time spent searching for that one specific plug-in or adjusting the parameters on your reverb to pretty much the same settings that you always do could be setting you back in terms of how much content you can put out and, ultimately, your advancement as a producer.
With that said, here are 10 tips to help you streamline your workflow in Ableton Live.
#1 Session View
While Ableton’s Session View is great for live performances, that’s not the only thing it’s good for. It can be super useful during the brainstorming process, because it can allow us to mix and match different clips to see what sounds good together. Clips can also be arranged in rows to create sections, which can then be recorded or dragged into Arrangement View.

#2 Sidebar
Another helpful feature in Ableton is that we are able to customize and add folders to our sidebar. All of you have to do is click the “Add Folder” button and you can link to folders anywhere on your computer with samples that you use often, loops, sounds, your favorite packs, and so on. Super simple, but having this sidebar organized can greatly speed up your workflow.

#3 Collections
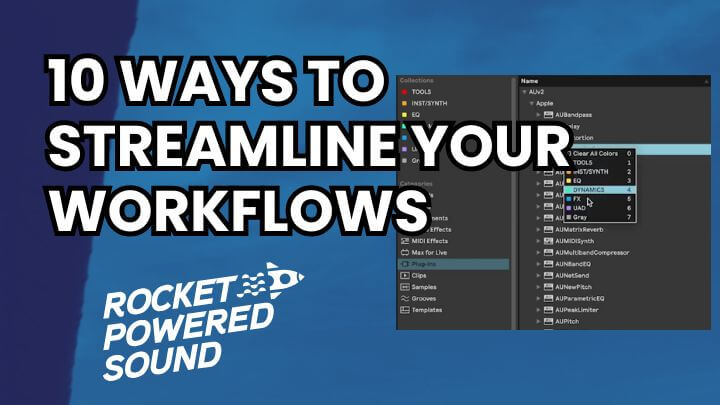
You might also notice along this sidebar, at the top, we have what are called our “Collections”. Now, we are able to create 7 of these color-coded timesavers and they are a great way to organize our “go to” plugins. Find some things that you frequently use and organize them by, say, category. Simply right click on the plugin and choose the collection you want to sort it into. This way, you can have quick and easy access to the things you use frequently without having to dig through a bunch of folders.

#4 Templates
This one is super helpful. Ableton allows us to save and load up templates with things like tracks, instruments, plugins, and sends already pre set. This is great if you frequently find yourself setting things up the same way before you start working. You can have different templates for different kinds of projects or a default that loads up every time you open Ableton. To save a template, simply go to “File” then “Save Live Set As Template…” You can also go to the “Templates” folder on the sidebar, right click on a template, and select “Set Default Live Set”.

#5 Defaults
Are there certain plugins that you almost always load up when you create a new audio or MIDI track? What about effects, are there certain parameters that you almost always set to basically the same value? Well, Ableton lets us set defaults for these, which is a huge time saver. Just set things to your liking, right click and select “Save as Default [Audio Track, MIDI Track, or Preset].

#6 Markers
Markers a great way to organize the timeline. You can create markers for the intro, break, chorus, and so on. To do this, right click on the top of the timeline and click “Add Locator”. You can rename it and the triangle becomes a play button to begin playback from that spot.

#7 Convert to Audio Without Flattening
There are several different reasons why maybe you’d want to convert one of your MIDI tracks to audio. For example, maybe the synths that you’re using are getting really CPU-heavy. You can do this without flattening the track and without losing the MIDI data. To do this, right click on the MIDI track, select “Freeze Track”, create a new Audio track, hold the “option” key, and drag the clip onto the new track.

#8 Drawing MIDI Velocity
Velocity is really important when it comes to working with MIDI. Velocity helps to give the music expressiveness. There are times when we have to adjust Velocity manually, like when drawing in notes. It can be really cumbersome to have to adjust the velocity of every note in a given clip, so thankfully there are ways we can draw in our Velocity pattern. One way to do this is to press “B” on your keyboard, which will allow us to enter draw mode. Also, when draw mode is enabled, press “option” to draw a straight line.

#9 Auxiliary Sends
Auxiliary sends can be useful for many different things. Maybe there’s a specific type of delay or reverb that you want to apply to several of your tracks. Instead of inserting that delay or reverb on every single one of those tracks, you can create a send and route your tracks through it. To create a send, hit “command”, “alt”, “T”. Now you can add your effects to your send.

#10 Capture Tool
Ableton’s “Capture MIDI” function is awesome. It allows us to capture any MIDI we haven’t recorded. So, basically, if you’re improvising on your MIDI keyboard and you come up with something good, but you weren’t recording, you can still use the Capture Tool to add it into your project. To do this, just click this button located at the top:

The Capture Tool remembers 16,000 MIDI events!
Well, there you have it. Those were 10 ways you can speed up your Ableton workflow so that you can put out more songs and become a better producer!


